Each day, most of us are barraged by various emails – news subscriptions, promotional offers, and the like – along with our regular email. Admittedly, a cluttered inbox can become overwhelming to look at.
Outlook has a nifty feature, known as Rules, to apply filters to automate filing and deletion of some of that email.
To create a rule from scratch (no message selected)
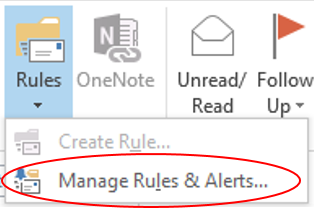
- Under the Home tab, click on Rules in the Move group, and then click on Manage Rules & Alerts.
- On the E-mail Rules tab, click the New Rule…
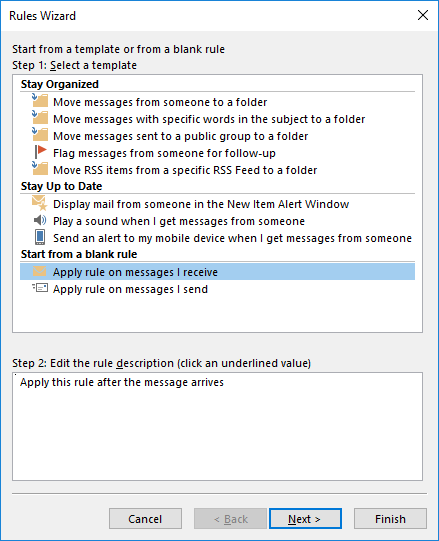
- Click Apply rule on messages I receive to apply it to incoming messages, and then click Next.
- In the Rules Wizard, you can check the criteria that you want to apply the rule to. Note that this is an “AND” criteria, so if multiple criteria are selected, both must be true for the rule to be applied.
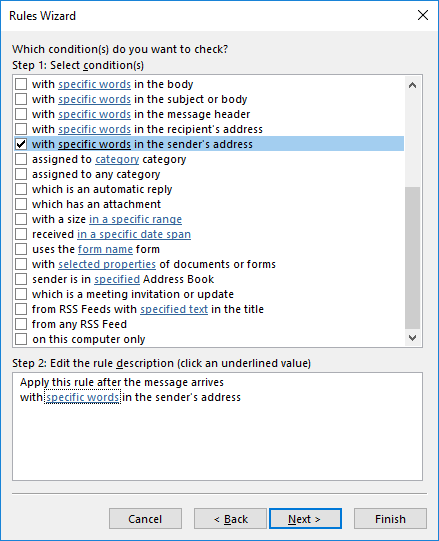
- To specify particulars about certain criteria, such as email received from a particular person, click on the hyperlinked words in the criteria, in the box for Step 2, after checking the applicable check box. (For example, you may want to specify with nextdoor.com in the sender’s address to apply the filter to all emails that come from nextdoor.com). A dialog box will appear.
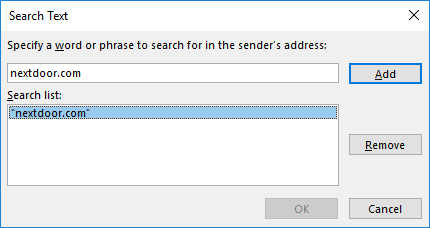
- Enter your criteria and then click Add. Once your criteria to search for has been added, click OK in the Search Text dialog box.
- Click Next on the Rules Wizard screen to take you to the action screen.
- Check the action(s) to perform with the message. Remember that clicking on a hyperlinked word in Step 2 helps you finish the action you want to perform in the rule.
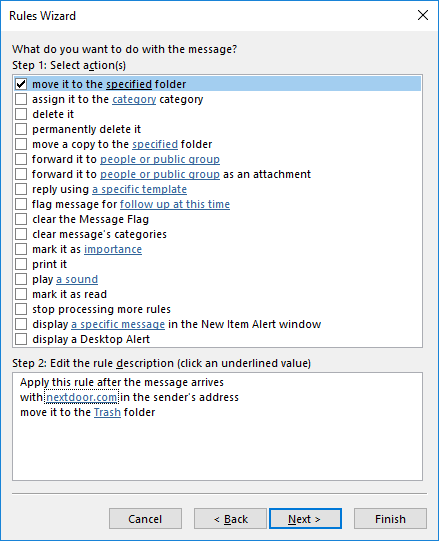
- Click Next once you have your action(s) selected.
- Check any exceptions (if applicable) and then click Next.

- Specify a name for your rule. If you would like to apply this to messages already in your inbox, click Run this rule now on messages already in “Inbox.” Click on Turn on this rule to apply the rule to all incoming messages.
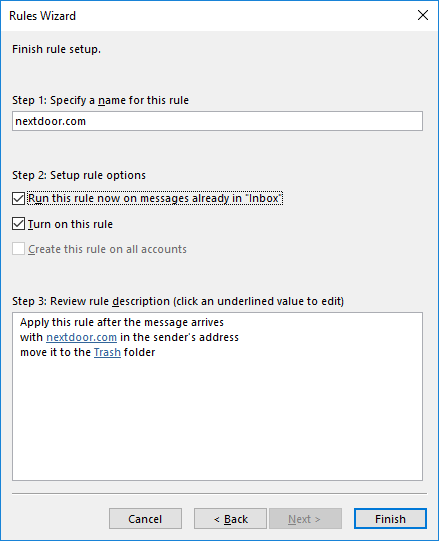
- Click Finish to exit the Rule Wizard. If this is being applied to your inbox, it may take awhile for Outlook to search your inbox for applicable messages.
To create a rule based on a selected message
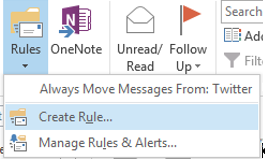
- With the message selected in your inbox, click on Rules, and then Create Rule.
- On the Create Rule screen, check your criteria for selected conditions.
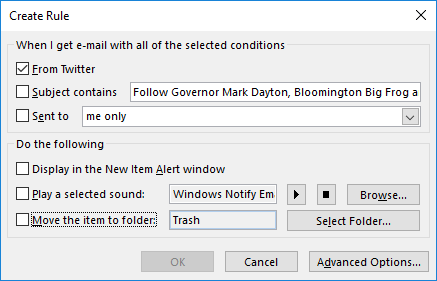
- Check the action(s) you wish to have Outlook perform. If you are simply filing a message, and don’t want to receive a pop-up notification, click Move the item to folder, click Select Folder, and click on the folder you wish the email that match the criteria to be routed to.

- Click OK to create the rule.
- On the success dialog box, if you wish to apply the rule to everything in the current folder, check Run this rule now on messages already in the current folder.
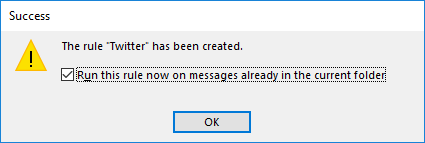
- Click OK.
Potential Uses
- Filter for emails from particular senders (subscriptions).
- Perform actions on emails with a common subject from a particular sender.
Caveats
- Note that if your subjects or terms are vague (e.g. adding a domain name in the sender’s address, but not wanting all emails from that domain to be filtered), Outlook may pick up more messages than you intended for, so be careful with permanently deleting an item immediately.
Establishing Rules in Outlook