There are two ways to place text in a Shape in a Microsoft Office program.
One way to place text in a Shape is to create a textbox, and move the textbox over the Shape. The downside of this method, though, is that when you want to move your Shape to a different portion of your document, you will have to move your textbox, as well. Sure, you can hold down Shift and select both the textbox and the Shape, but that’s kind of a pain. Also, having both a textbox and a Shape can make your document quite cluttered.
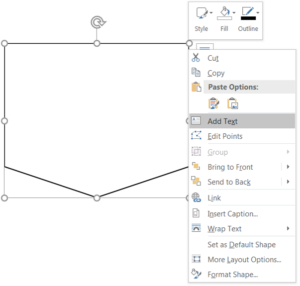
An even better way to place text in a Shape is to first create your Shape on the document. Then, right-click on the border of the Shape and then click on Add Text. A textbox will be created inside of the Shape, where you can enter whatever text you want. One perk of using this method is if you decide to resize your Shape, the text should rewrap to fit the new Shape size. It’s also less “clutter” in your document, making it easier to manage, should you have to go back and make changes.
General Pointers about the Second Method
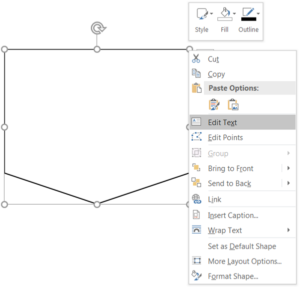
- If you tried to right-click on the Shape to add text to the Shape, but you cannot click in the text area, right-click on the Shape again. Then select Edit Text. You can now add text to your Shape.
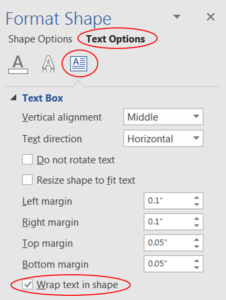
- For some reason, word wrapping is sometimes turned off. To turn it back on, right-click on the Shape and select Format Shape.

Click on Text Options. Then, click on the Layout & Properties icon on the far right. Make sure that “Wrap text in shape” is checked. This should turn word wrapping on again.